We have previously presented the new procedurally generated maps. Time to dive into the technical side! First off, lets have a look at the configuration that can govern the generation:
{
    "Seed": 0,
    "MapLayout": "LeftRight",
    "MapStyle": "Normal",
    "Generator": [
        {
            "Type": "PerlinNoise",
            "NoiseScale": 0.3,
            "BucketRatio": 1.0,
            "EntityRatio": {
                "Grassland": 1.0,
                "Forest": 0.3,
                "Mountain": 0.1,
                "Rocky": 0.1
            }
        },
        {
            "Type": "RandomPlacement",
            "LowerBound": 0.2,
            "UpperBound": 0.8,
            "EntityCounts": {
                "Barracks": 2,
                "Farm": 2,
                "House": 4,
                "Quarry": 2
            }
        },
        {
            "Type": "RandomPlacement",
            "LowerBound": 0.0,
            "UpperBound": 0.2,
            "TeamId": "Team 1",
            "EntityCounts": {
                "Barracks": 1,
                "Archer": 3,
                "House": 1,
                "Knight": 1
            }

        },
        {
            "Type": "RandomPlacement",
            "LowerBound": 0.8,
            "UpperBound": 1.0,
            "TeamId": "Team 2",
            "EntityCounts": {
                "Barracks": 1,
                "Archer": 3,
                "House": 1,
                "Knight": 1
            }

        }
    ]
}
The first few fields dictate the global style of the generation:
Seed – With random numbers, they can use a seed as a ‘starting point’. When defaulted to 0, all new maps will generate differently. If the seed is set then the generator will always come out with the same map.
MapLayout – Dictates the overall map layout. So far there are 4 possible values [ LeftRight, TopBottom, BottomLeftTopRight, Chaotic ]. These define the orientation of the battle where chaotic is both teams entities mixed across the map!
MapStyle – Dictates the overall map style, either Normal or Mirrored. The Mirrored version makes sure that the entities are identical on both teams sides.
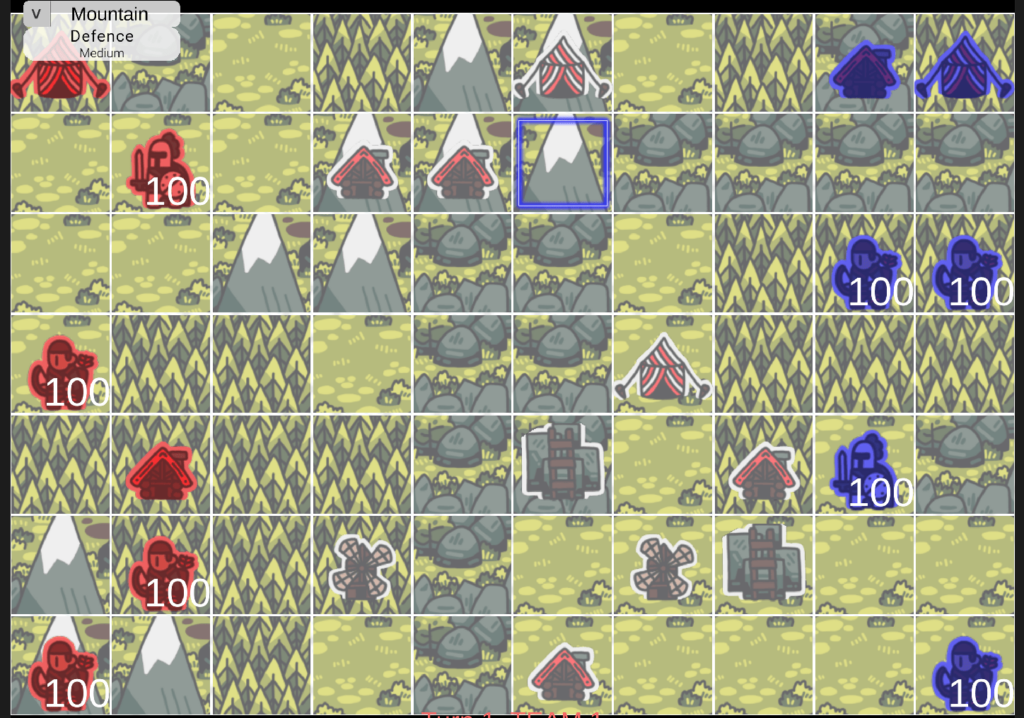
Now we come to the real meat of the map generation, the Generator. This is a list of Layers, running from the top of the array to the bottom. Each layer will add (or subtract) entities to the current map state. Lets have a look at a sample of the resultant map:
Perlin Noise Layer
The first layer in that example is a PerlinNoise layer which generates the terrain (mountains, grassland etc). The BucketRatio dictates how much of the map is to be covered which is set to 1.0 so this layer covers the whole map. The EntityRatio details the used entities and fills up from top to bottom, possibly replacing any entities that is already in that layer. You may notice that the entity placement is not entirely random but seems to have zones – you can see that there is a large forest in the bottom left and a mountain range on the top for example. The random scheme that dictates this is known as Perlin Noise. This generates random numbers on a grid but there are smooth transitions of the numbers between each zone.
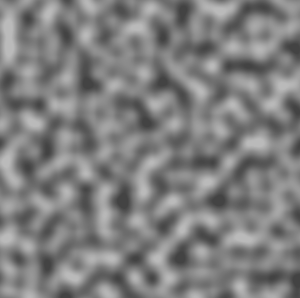
The parameter NoiseScale dictates the size of each region. The higher the value, the closer to pure random we get. Therefore, if we want a map with large regions of woodland for example then we could set a low noise for a layer with woodland.
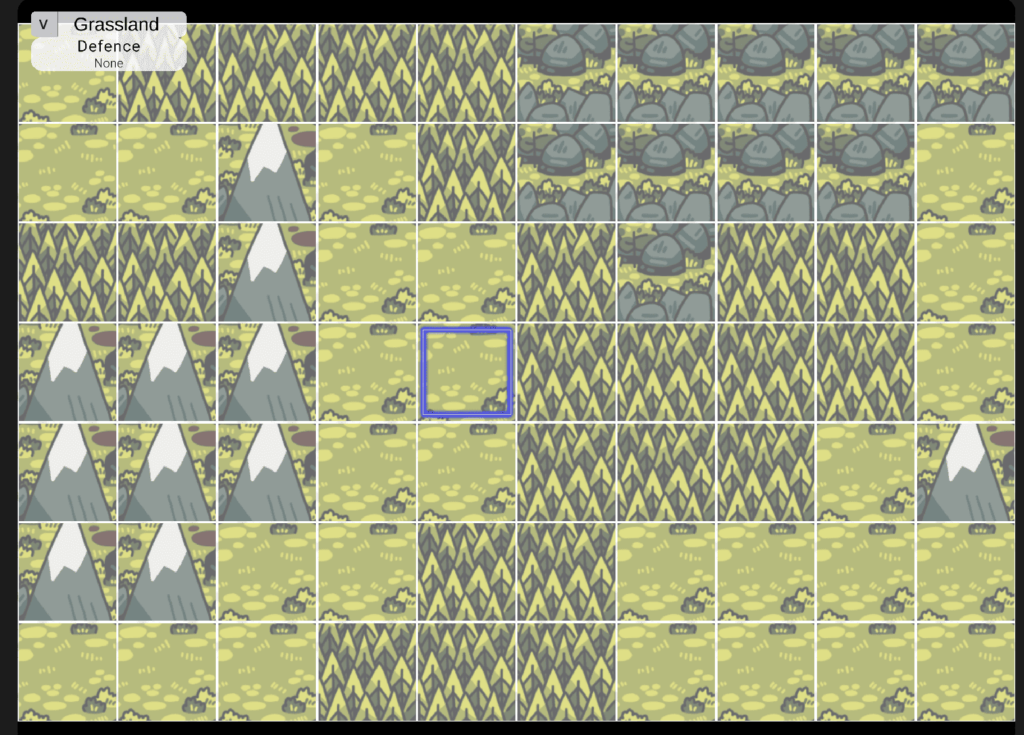
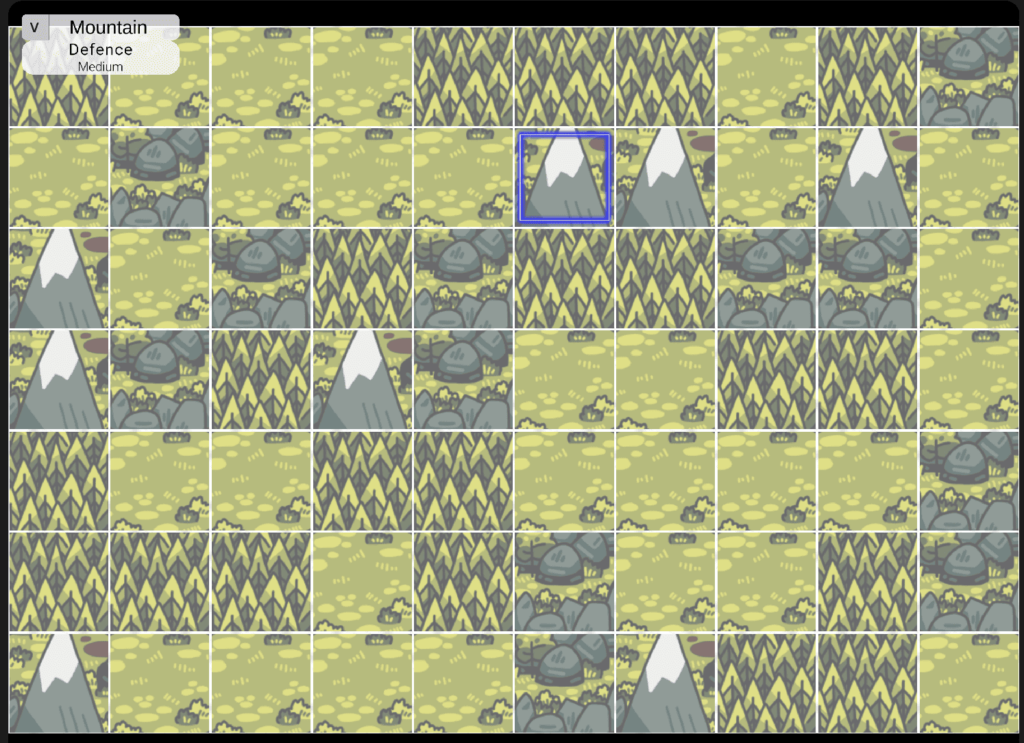
These examples are generate using a single layer but of course one could add multiple layers with different entities and noise to get some very interesting features.
There is one additional consideration for using perlin noise. The noise generates a normal distribution centered around 0.5. Therefore, the code does a first pass and calculates the standard deviation of the noise with the given noise value, as the width of the normal curve varies with the noise.
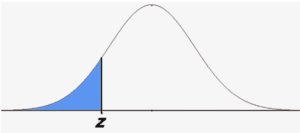
With the standard deviation calculated, we can set Z where the area to the left of Z equals the entity ratio that the config dictates. This is the chance that the entity is present. When the perlin noise is in the area left of Z, we will have the entity at that position and likely to have it also in neighboring positions due to how the noise is generated. When the noise is greater than Z then we don’t have the entity at that position.
Random Placement Layer
The next few layers are RandomPlacement layers. These are much easier to understand as they effectively just run through the defined EntityCounts and places each entity within the given bounds. The UpperBound and LowerBound indicate the ratio across the map an imaginary line is drawn. Within these lines the entities of the layer can be placed. The MapLayout defines which orientation the lines are drawn.
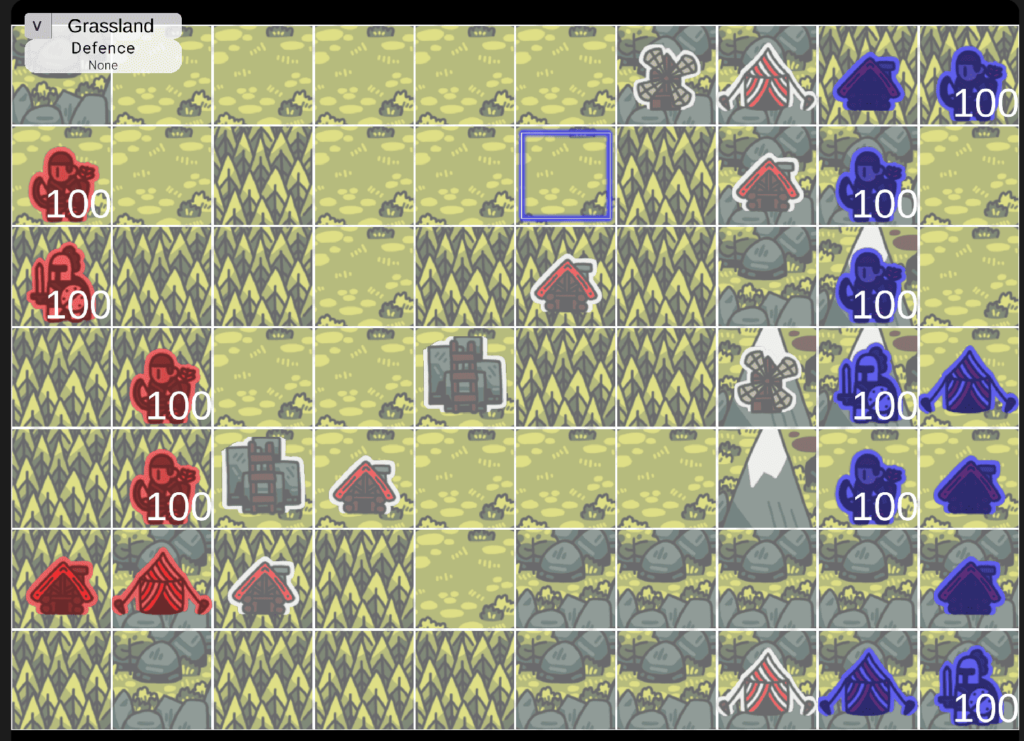
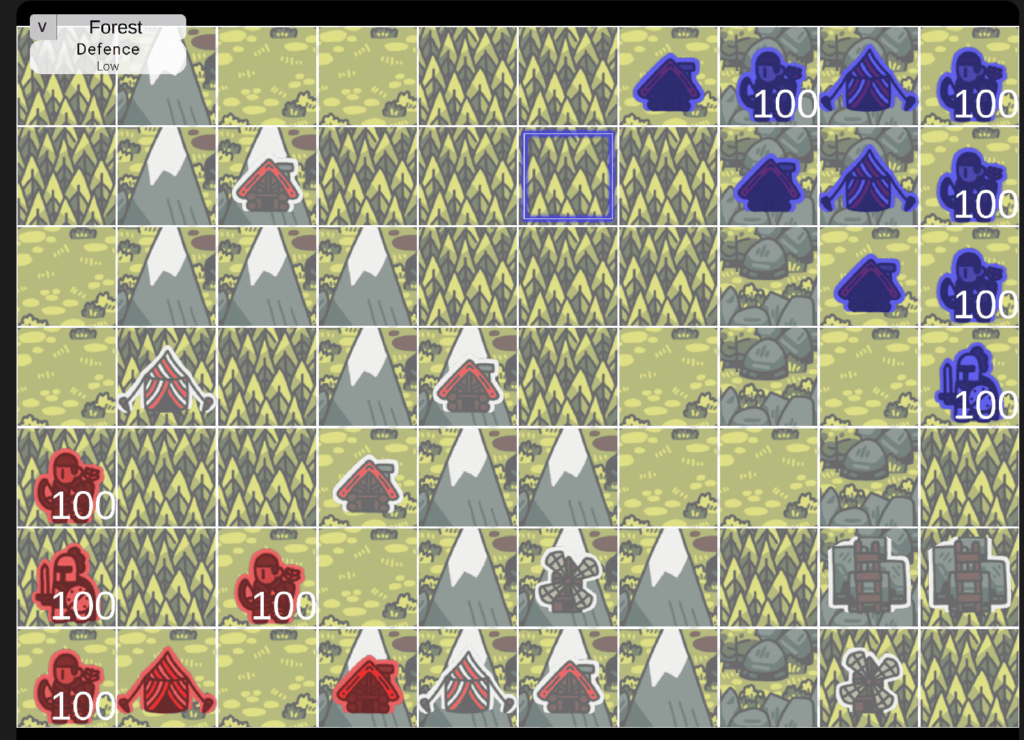
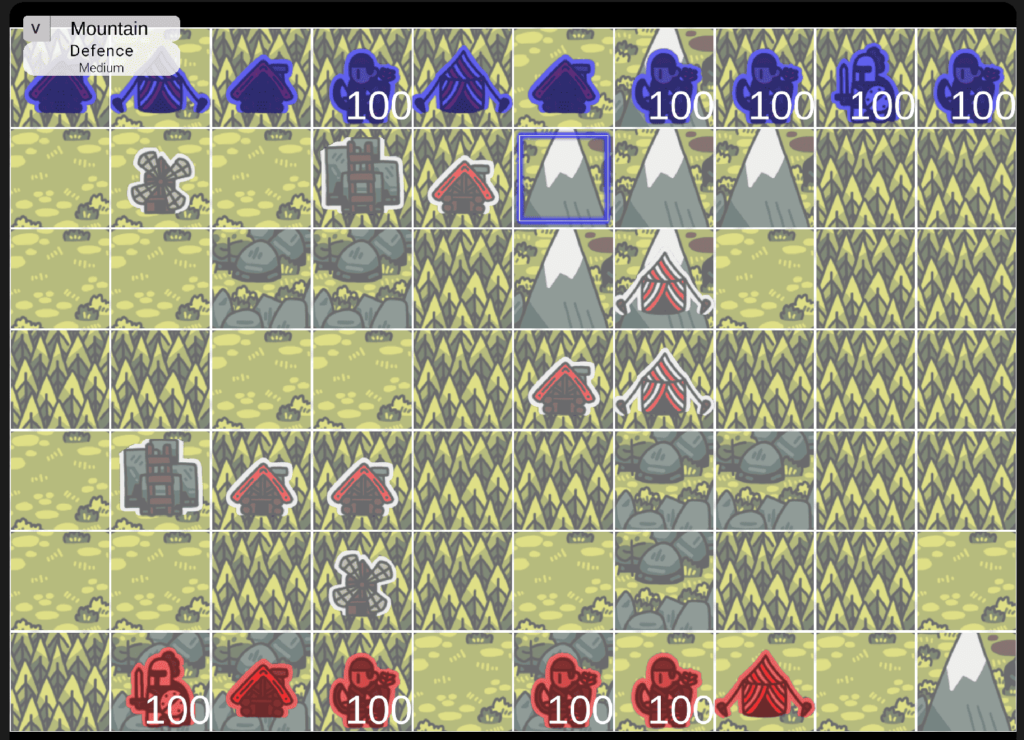
Finally there is the Chaotic layout which throws away the boundary lines and puts the entities anywhere on the map!
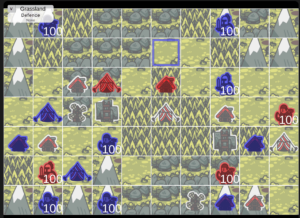
The RandomPlacement layer is very well suited for entities which are more intractable such as team units and neutral buildings to fight over.
With the two layer types available at the moment some interesting maps can be made which offer a good game. However, there will be more layer types added as there is a lot of possibility of different features which will make the maps more rich and interesting to play on.
